Thanks Per, I hope to see a few more people become involved as well!
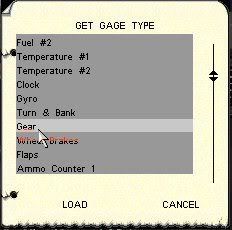
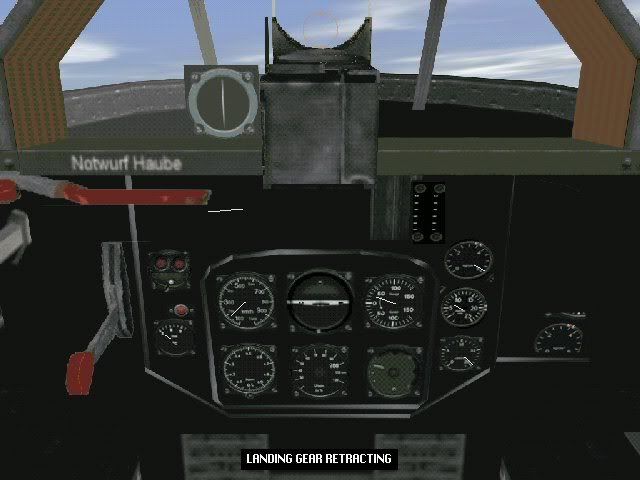
Sera, I made some changes and added the ammo counters and the landing gear indicater:
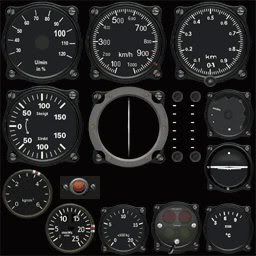
I just need to map the locations and it's good to go.
Now, I'm going to take you through the steps for editing the new cockpit. First we need a new image of the instrument panel view. Ideally we want this view without any of the needles and sprites floating around the cockpit so we can have a clear view. So first we will create a new Pview file without any instruments in it. You will need the Cockpit Editor installed now. It is available at my addons page at Tally Ho:
http://www.sandbaggereaw.com/crashinjack/CockpitEditor12CE.zipThe readme gives instructions on installing the editor. I would definitely recommend a clean install!
First of all, back up your "cockpits" folder that was installed by the editor. We are going to be creating a new cockpit, so whichever cpt file you are creating is going to get overwritten. The editor does make a backup copy, but if you hit save again you will have lost the original.
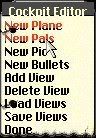
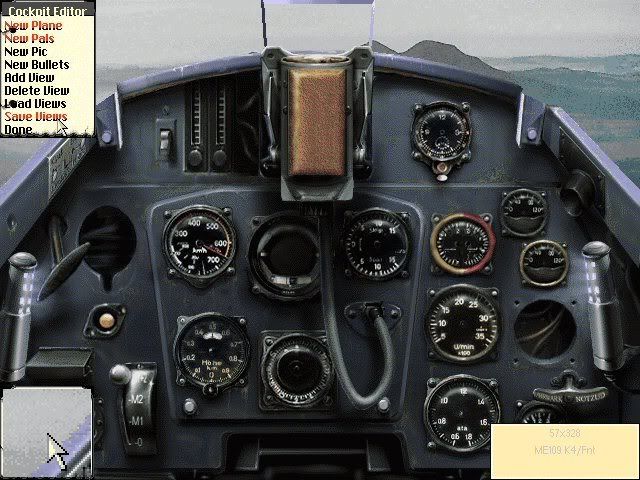
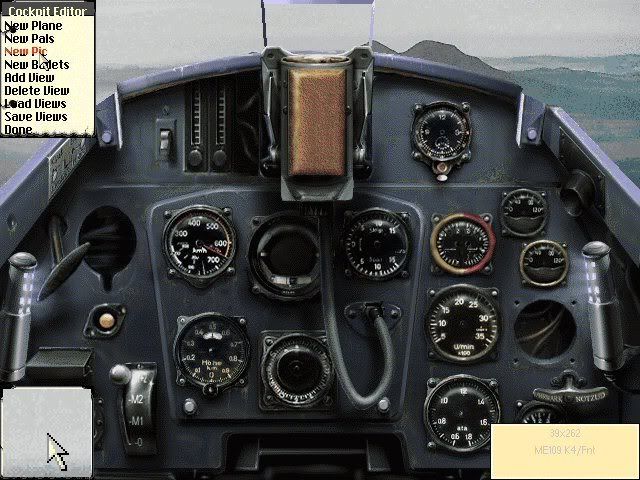
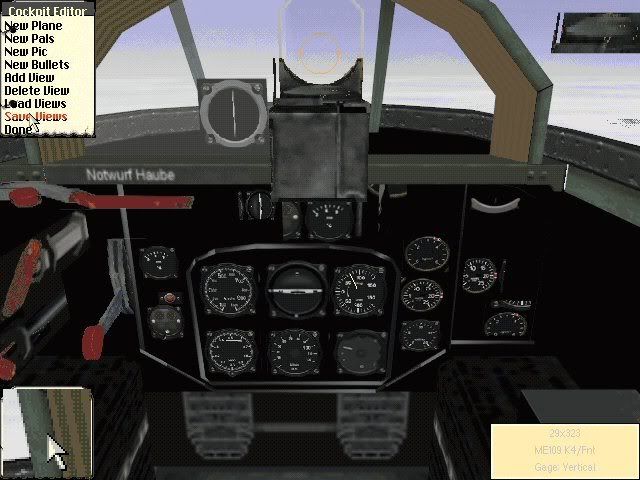
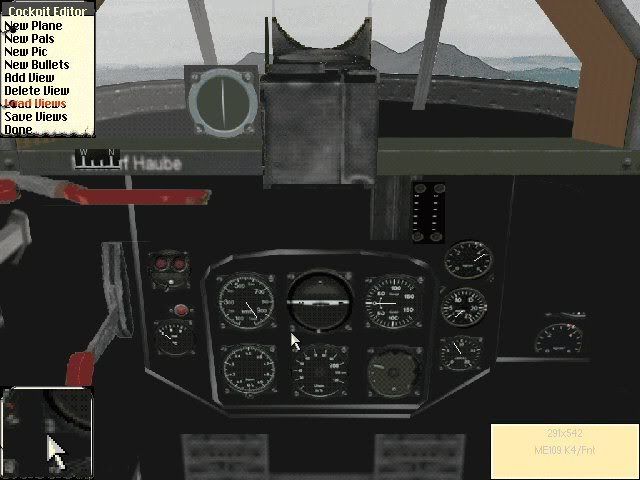
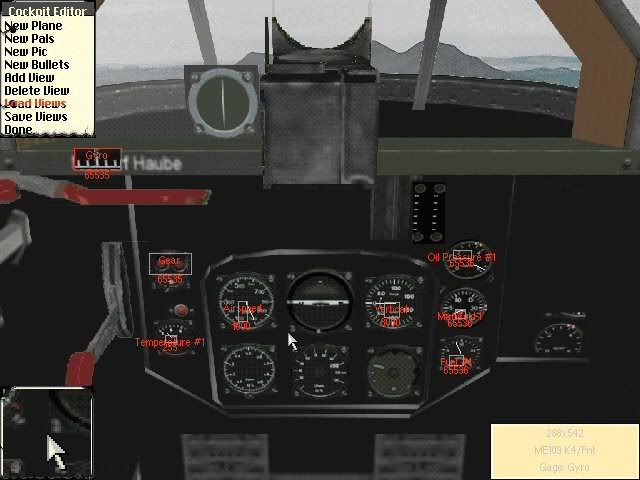
Start the game, and when you get top the main screen use Ctrl-E to start the editor. You should see a screen that looks like this:
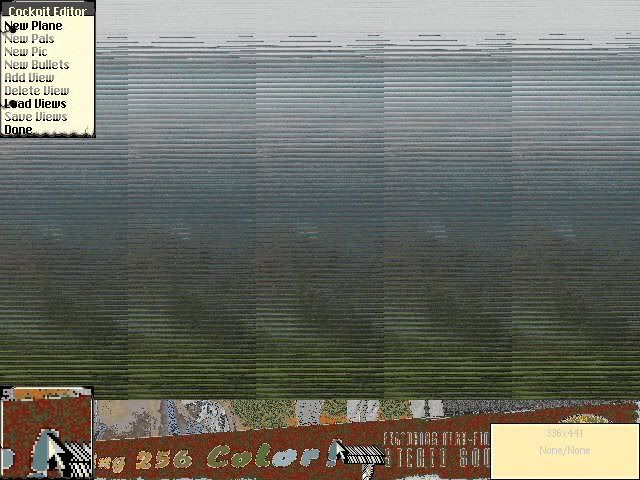
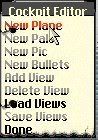
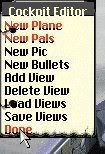
Go to the main menu in the top left and select New Plane:
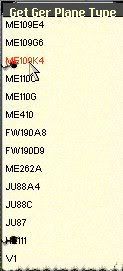
Choose the nationality of the aircraft slot:

Then choose the specific slot:
This will automatically load all of the default images for this slot, but anything that appears inside the cockpit will be black. This is okay! Now we need to add the palettes. Select New Pals from the Main Menu:
This brings up the Palette Menu. Select the Day Pal slot:
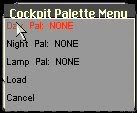
This brings up the Col Menu. "Col" is the extension of the palettes used as building blocks for the program. Select the proper DayFade col, in this case for the Germans:
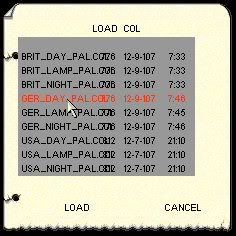
Click on Load, and you will be returned to the palette menu. Select the other two palettes, then click on Load in the Pal Menu:
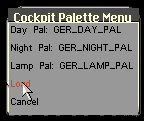
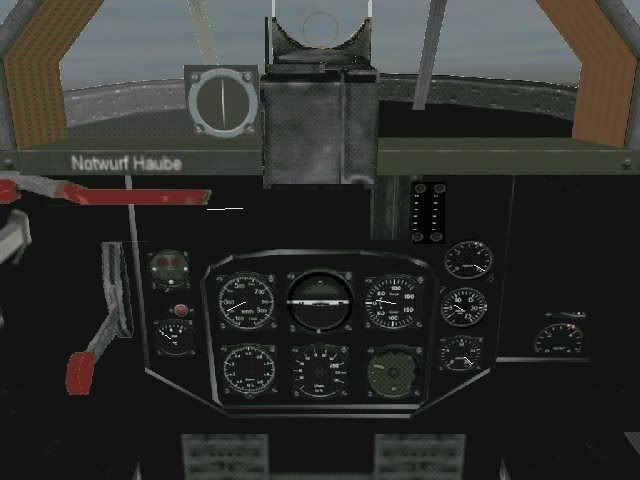
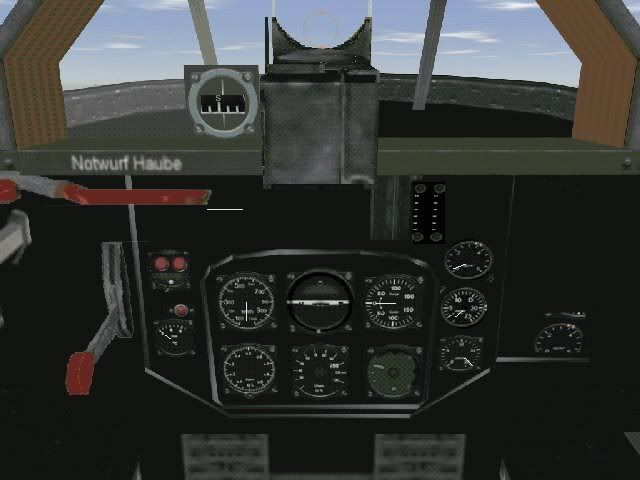
This will load all three palettes. You should now see everything in the cockpit in full color:
Click on "Save Views" as shown in the above image. The cursor will lock up for a few moments while the new Pview file is created. Now click on Done:
This will exit the editor and take you back into the game main screen. Go ahead and exit the game. Now look in the "cockpits" folder and you should see a new Pview file for the slot you are using. Copy this into the main EAW folder. Also put your new cockpit files into the folder - these shuld be for the new 3DZ cockpit you are creating. Go to your EAE.INI file and change the size to 640x480. This is very important, as the editor only works in this size.
Go into the game, and fly your new aircraft. When you are in game, hit Ctrl-F1. This will bring up the 2D instrument panel view. Now hit F8. This will change the view to the virtual cockpit, but still looking at the same spot. DON'T TOUCH YOUR MOUSE!!!! Don't change the view in any way. Wait for a moment when there are no messages on the bottom of the screen - the hud in the lower left is okay. Take a screen shot - for me this is hitting the "Print Screen" button - and exit the game.
There should now be a new image in your main EAW directory called something like SCRN0001.BMP. Open this in PSP (or alternatively, simply start PSP and hit Ctrl-V - this will load the clipboard directly into a new image) and go to Image/Palette/Load Palette. Load the palette you saved long ago from the original cockpit - in my case this was the me163 cockpit palette.Save the image as a PCX. Exit Paint Shop Pro.
Copy your new PCX image to your Picpac folder and start Picpac. Remove anything shown in the white window on the right, and add your new image. Now select the USER option as the default output extension and THEN deselect "Save Palette." The image has palette info, but you don't want the actual palette attached. Compress the file. This should result in a new "pic" file in your Picpac directory.
You need to rename the image so that the editor will be able to load it. The convention is "P**##L.PIC" or "P**##H.PIC." "**" is the slot, and "##" is the view. "L" is the normal type of view, and "H" is the 45 degree up view. You don't really have to make the numbers and H-L right for this step - that is only needed for the autoloading feature - But you DO have to follow the convention. I have found numbers up to 33 work in the first two (most numbers up to 24 are in use - use something higher) and anything between 11 and 17 works for the second set, the view numbers. I have been using "P3311L.PIC" for my work. Rename you pic file and copy it into the "pic" folder in EAW used by the editor.
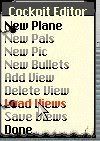
Now, restart EAW and go into the editor. Instead of doing all of the steps we did before, use the "Load Views" option on the Main Menu:
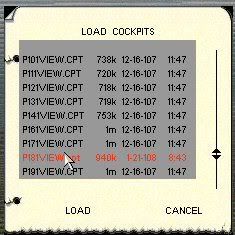
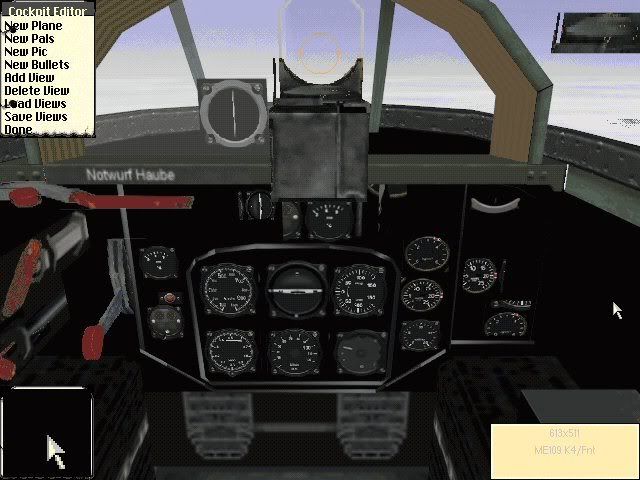
This brings up the "Load Cockpits" menu. Scroll down to the one you created earlier - in this case it is the P181VIEW.CPT, the Pview file for the Me-109K:
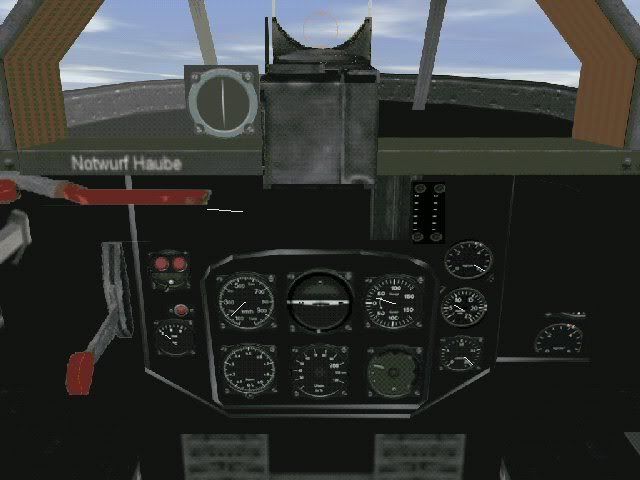
Now your screen should look something like this:
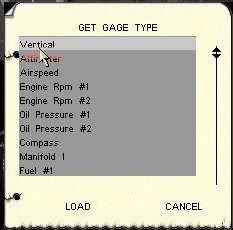
Select "New Pic" from the Main Menu as shown above, and the "Load View" menu appears:
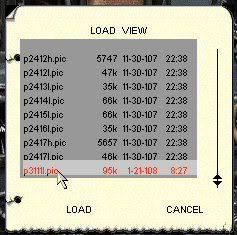
Scroll down to the new pic file you created, and load it. Your new view should be loaded:

Click on "Save Views" and your new view is now part of the P***VIEW.CPT file you created, and will be used when you use the 2D view in 640x480. You could use the same procedure to create all of the rest of the views as well, but you would also have to create sprites to use for the canopy rails when looking straight ahead.
All of the instruments will now be blanked out with one exception. The Artificial Horizon will still be active in-game as this is controlled by the VCG****.DAT file - the only gauge set up this way.
Now you have an image suitable to do your editing on. Now you should be able to add all of the gauges and line them up properly with out having to go back and forth from the editor to ingame, make an adjustment, repeat, etc.
Well, that's all for now folks!
Cheers!


 Previous Topic
 Index
Index